How to Edit Client Statuses
Note: This setting is available exclusively on the Senior Place Premium plan, and only account administrators can make these changes.
The default Client Statuses in Senior Place work well for the majority of users; however, we understand that some of you want to add, remove, or archive statuses to better fit your workflows. The following tutorial will show how to modify your Client Statuses:
1) Navigate to Agency Settings > Clients
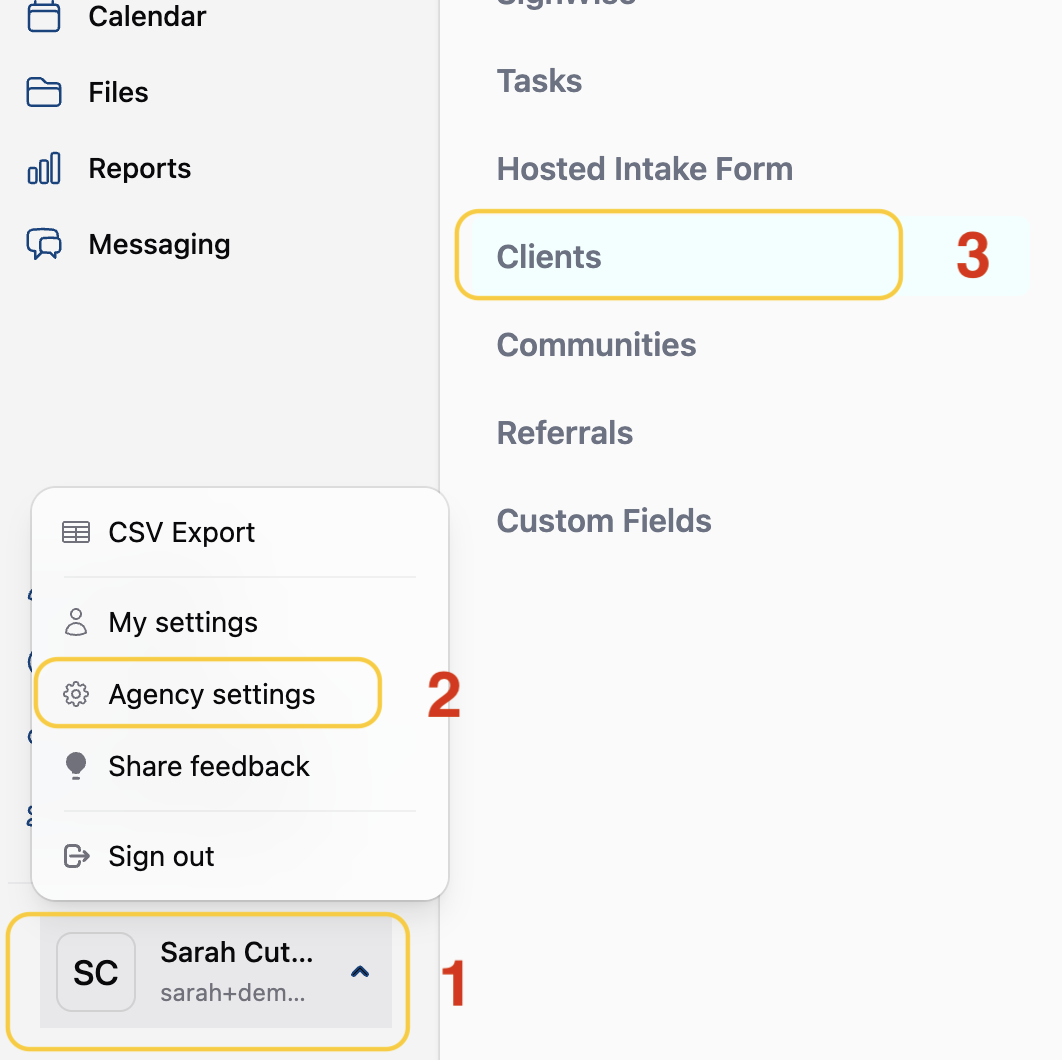
- Navigate to the profile menu
- Select Agency settings
- Click Clients
2) Customize Statuses
Note: Some statuses, such as New, Intake Completed, and Invoice Sent, have limited customizability.
After scrolling down to the Client Statuses section, you'll be able to customize your statuses.
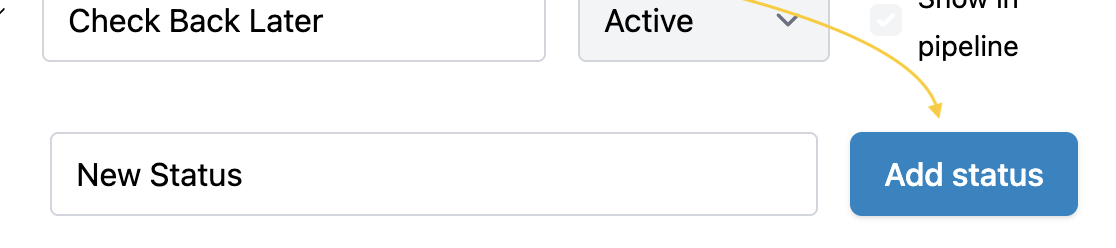
Add a New Status
At the bottom of the Client Statuses section, you'll find the Add Status field. To add a new status, enter your new status name in the text field and click Add Status.
Edit an Existing Status

- Reorder a status
- Change Status icon
- Edit Status Name
- Adjust Status Category
- Active - This is for Clients you are currently working with
- Closed - This is for Clients you are finished working with
- Ongoing - This is for Clients you work with on a recurring basis
- Change whether the Status is Shown or Hidden on the Client Pipeline
- Archive the status
Have more questions? Feel free to reach out to us at support@seniorplace.com!