All About Time Tracking
Note: This feature is available exclusively on the Senior Place Premium plan and must first be enabled by your account administrator.
To get started using the time tracking feature, your account administrator must first enable this feature for your agency. Please navigate here for instructions on how to do that.
Once this has been done, you'll then be able to track exactly how much time you've spent helping a client from within a client profile! Here's how:
How to Start the Timer for a Client

- From within the relevant client profile, navigate to the clock icon.
- Click Start timer
Note: Sessions cannot be logged for less than your minimum billing increment. This setting can be updated by your account administrator.
Adding Notes to a Session
Notes can be added to a session while the session is active or paused. These notes are automatically saved when the session popup is minimized.
Notes are saved to several areas for each session:
In the Session Where the Note Was Created

In the Clients Interaction Notes

In the Time Tracking Report

How to Stop or Discard a Session Timer

Click on the clock icon to Pause or Discard your current session.
How Long Has My Timer Been Running?

Click on the clock icon to view your current session length.
How to Manually Add a Timed Session

- From within the relevant client profile, navigate to the clock icon.
- Click Add manual entry

- Input your session Date
- Select your session Duration
- Add your notes
- Click Save
How to Edit or Delete a Session Entry
In the Clock Icon

In Interaction Notes

How to View Timer Entries
From Within the Clock Icon

In the Time Tracking Report
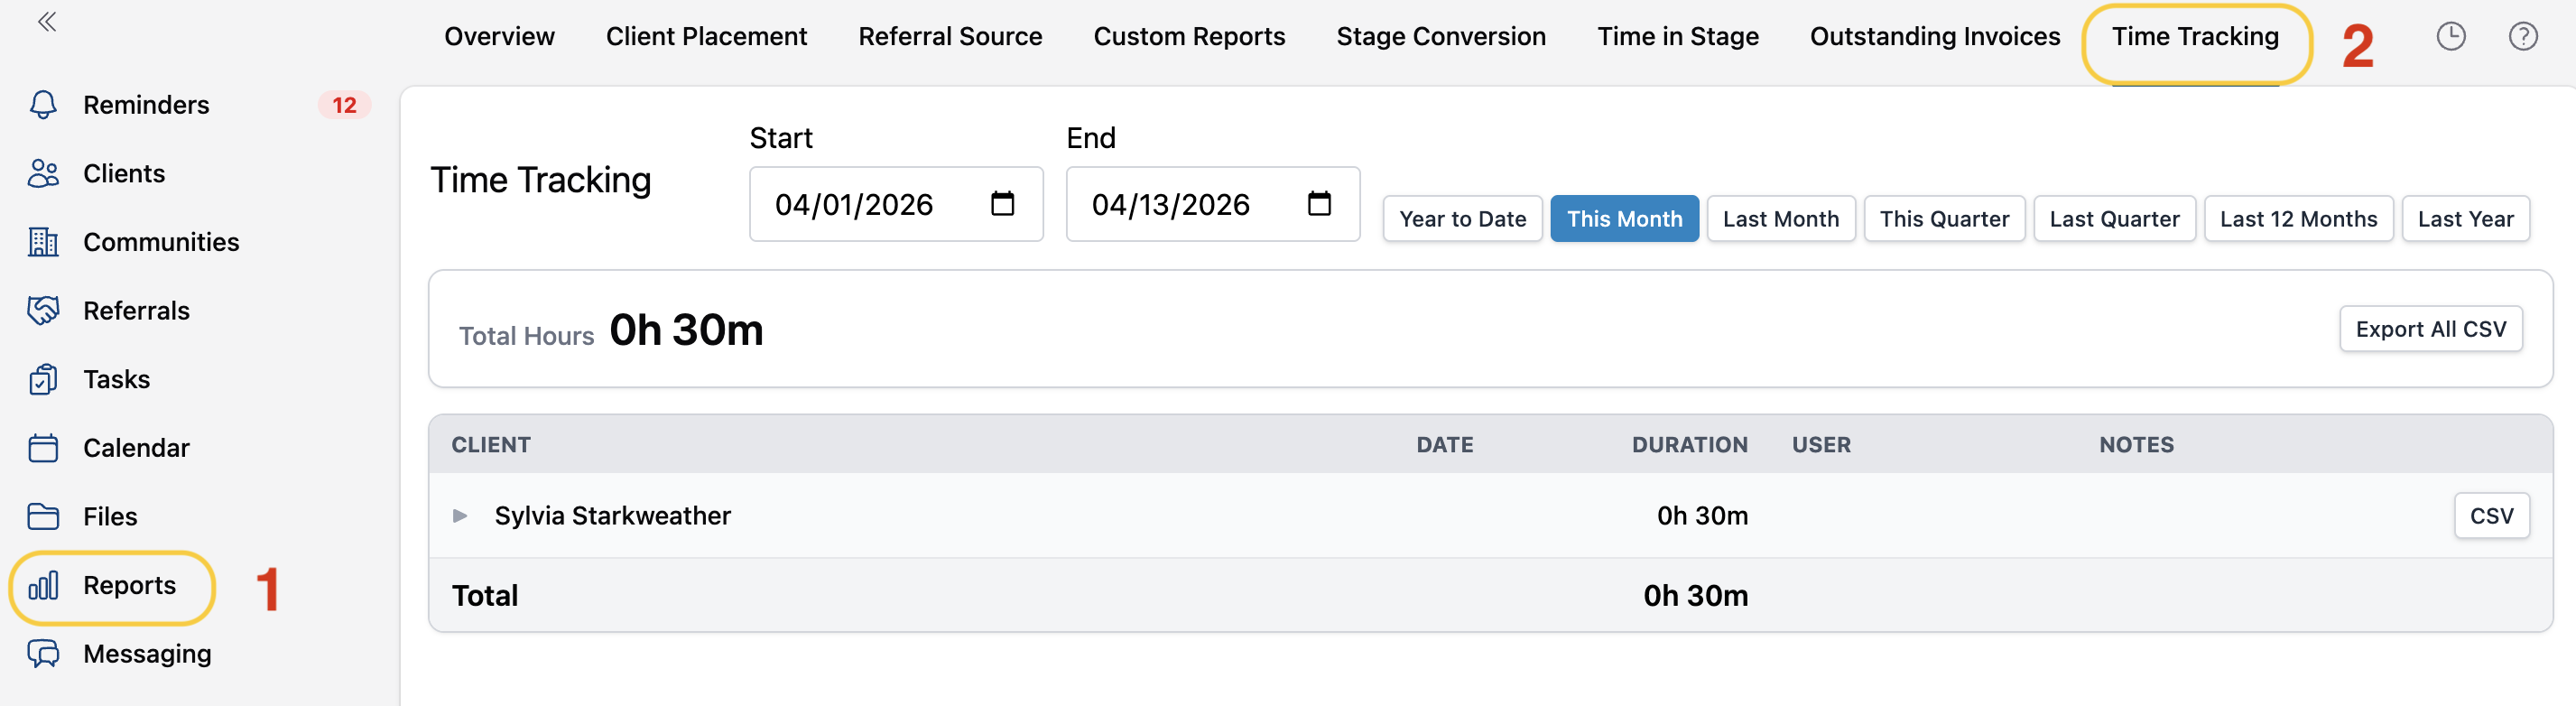
- Navigate to Reports
- Select Time Tracking
Note: This report is not available on all user permission levels.
Have more questions? Feel free to reach out to us at support@seniorplace.com!