How to Create a Custom Report
Whether you want to pull a report about clients, communities, activity, or more, custom reports are a powerful way to extract the data you need. The following steps walk through the information needed to create any report you want:
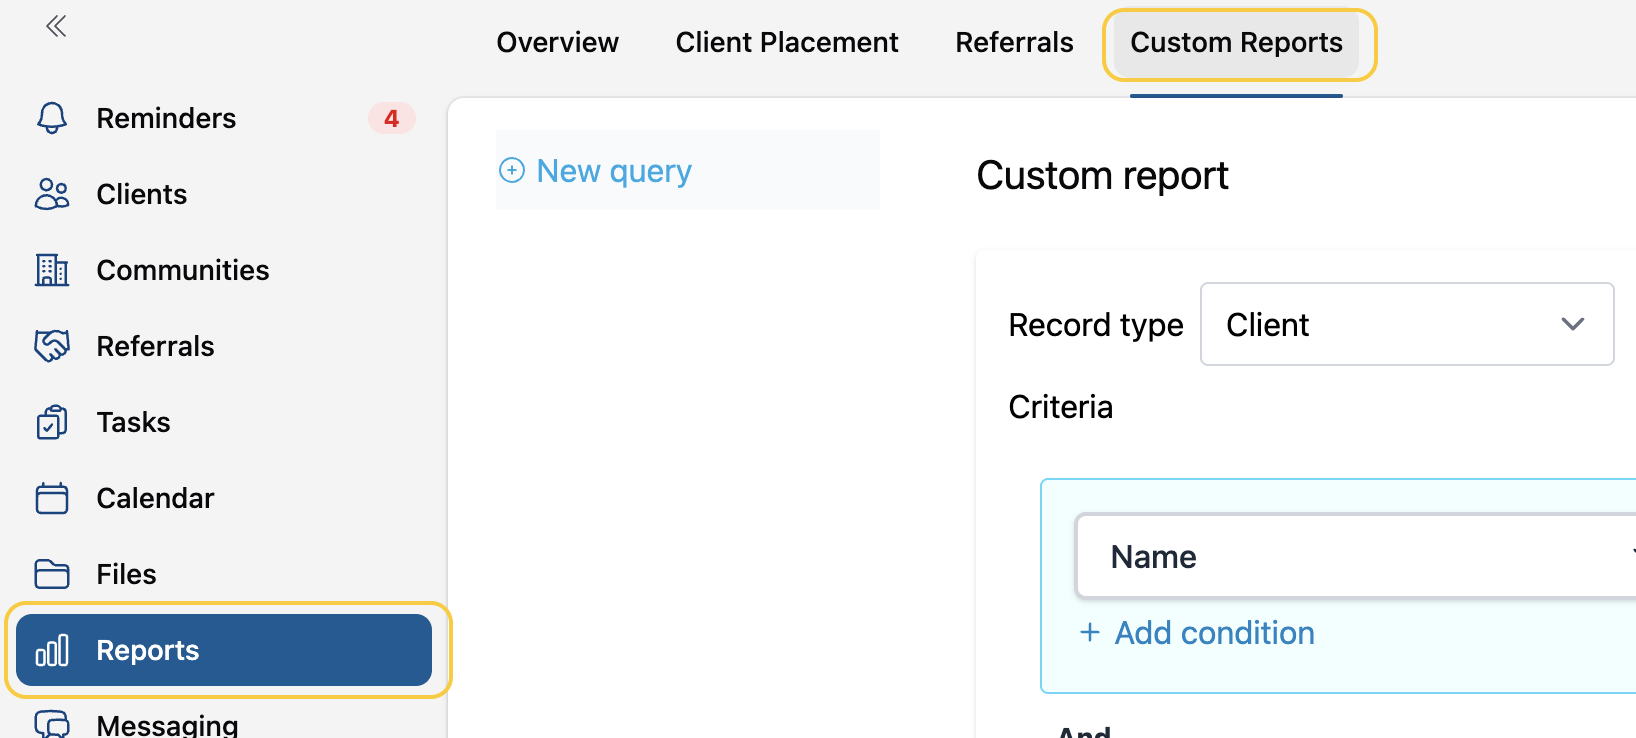
1) Navigate to Custom Reports
- Click Reports
- Click Custom Reports
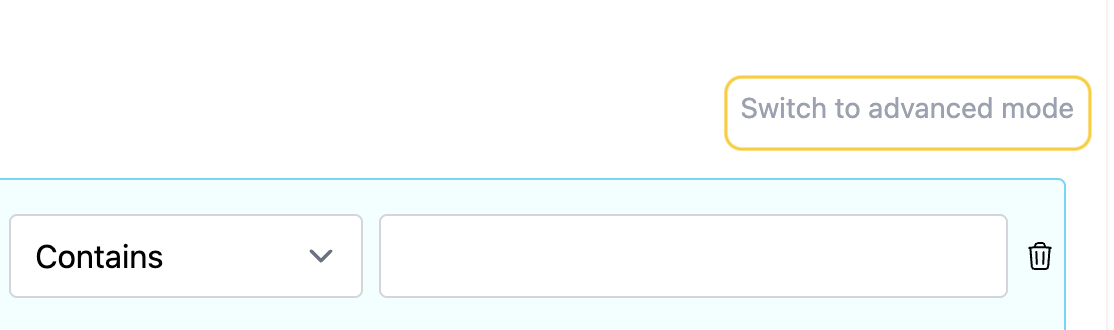
2) Toggle to Advanced Mode (optional)
The default Custom Report state is in Simple Mode. This mode will allow you to perform most report types; however, if you're trying to pull a more complex report with intricate variables, you may need to toggle to Advanced Mode.
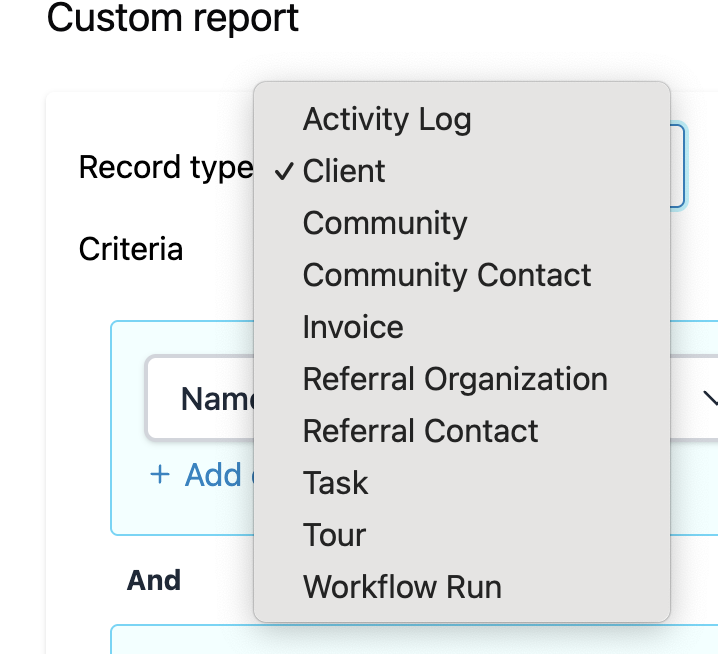
3) Choose the Record Type
This defines the dataset you'll be pulling the report from.
4) Add Conditions
Conditions enable you to filter the records you're reporting on. One way to think of them is as IF-THEN logical formulas. While simple reports might only require one condition, you can create a report with as many conditions as you'd like!
Here are some examples to get you started:
"Pull a report of all clients assigned to Jason"

"Pull a report of all clients assigned to Jason OR JD"

"Pull a report of all communities with more than 10 beds"

"Pull a report of all communities with more than 15 and less than 30 beds"

"Pull a report of all activities logged after July 25th"

"Pull a report of all activities logged between 1 week and 1 day ago"

5) Add Groups (optional)
Note: Groups are only available while in Advanced Mode.
Although Conditions will work for the bulk of your custom reports, sometimes the information you need requires a more nuanced query. That's where Groups come into play.
See the following for some examples of when Groups are useful:
"Pull a report of all communities in Seattle with an Active OR One-off/Honor Contract"

"Pull a report of all clients in the Scheduled to Move status who are Assigned to Jason OR JD"

6) Run Report
Once you're happy with the Conditions/Groups you've set, click Run Report. Don't worry if you forgot a Condition or need to change something, you can easily make the necessary adjustments and run the report again!

7) Change Columns (optional)
If you want to adjust the columns that show up in your report, you can do so by clicking the Change Columns button. See this article for further information!

8) Export the Report (optional)
If you want to export the CSV report, simply click Download results if you're on our Premium plan. If you're on our Standard plan, this tutorial shows how to export your results from Senior Place.
9) Save the Report (optional)
Note: The Senior Place standard plan only supports one saved report. If you're interested in upgrading to Premium (with unlimited saved reports), let us know!
Once you're happy with the report, you can save it for further use:


- Click Save Report
- Name the report
- Choose whether or not to share the report with colleagues
- Click Save
10) Setup Report Emailing (optional)
Note: Scheduling reports to automatically send on a recurring basis is only available for Senior Place Premium customers.
If you'd like to have a saved report emailed to users on a regular basis, you can do so by navigating to the saved report and clicking the Schedule email button.

From there, you can configure who will receive the report and how often it will be sent.

11) Favorite the Saved Report (optional)
Note: This feature is only available to Senior Place Premium customers.
If you want to access your saved report more quickly in the future, you can also Favorite it so it shows up higher in the saved reports list.

12) Duplicate the Report (optional)
Note: This feature is only available to Senior Place Premium customers.
If you want to create another similar report without needing to recreate the criteria and columns, click Duplicate report. You can then edit and rename that duplicated report to fit your needs.

You can find several tutorials linked below that walk you through creating specific reports.
Have more questions? Feel free to reach out to us at support@seniorplace.com!